Cart
0
If there’s one part of Halloween that has retained a hint of normalcy, it’s the jack o'lantern decorating. The opportunity to dazzle neighbors with pumpkins that fright and a house illuminated with the haunting glow of a midnight moon is still wide open. If we can’t gather in parties, and if trick or treating is put on pause, then the least we can do is put on a show for passerbyers. Especially with your jack o'lantern: the ultimate Halloween challenge. And here at Rockin Cushions, we’re thinking outside the box to make your pumpkins shock and amaze your neighbors, even from a distance. Go all out and make your pumpkins stand out in the most vibrant of ways with these new decorating trends:

Balloon Pumpkin
This adorable idea comes from Paper & Stitch DIY. This no-carve DIY decoration is perfect for those who loathe the mess of carving: the newspapers, the sharp knives, the seed and gut dissection. I love a good jack o’ lantern, but if I can avoid the pumpkin trauma, I will. If that sounds like you, here’s how you can have a clean and easy time decorating:
- Snip the ends off an opaque balloon. 11in for smaller pumpkins and more for bigger pumpkins.
- Stretch around the base of the pumpkin.
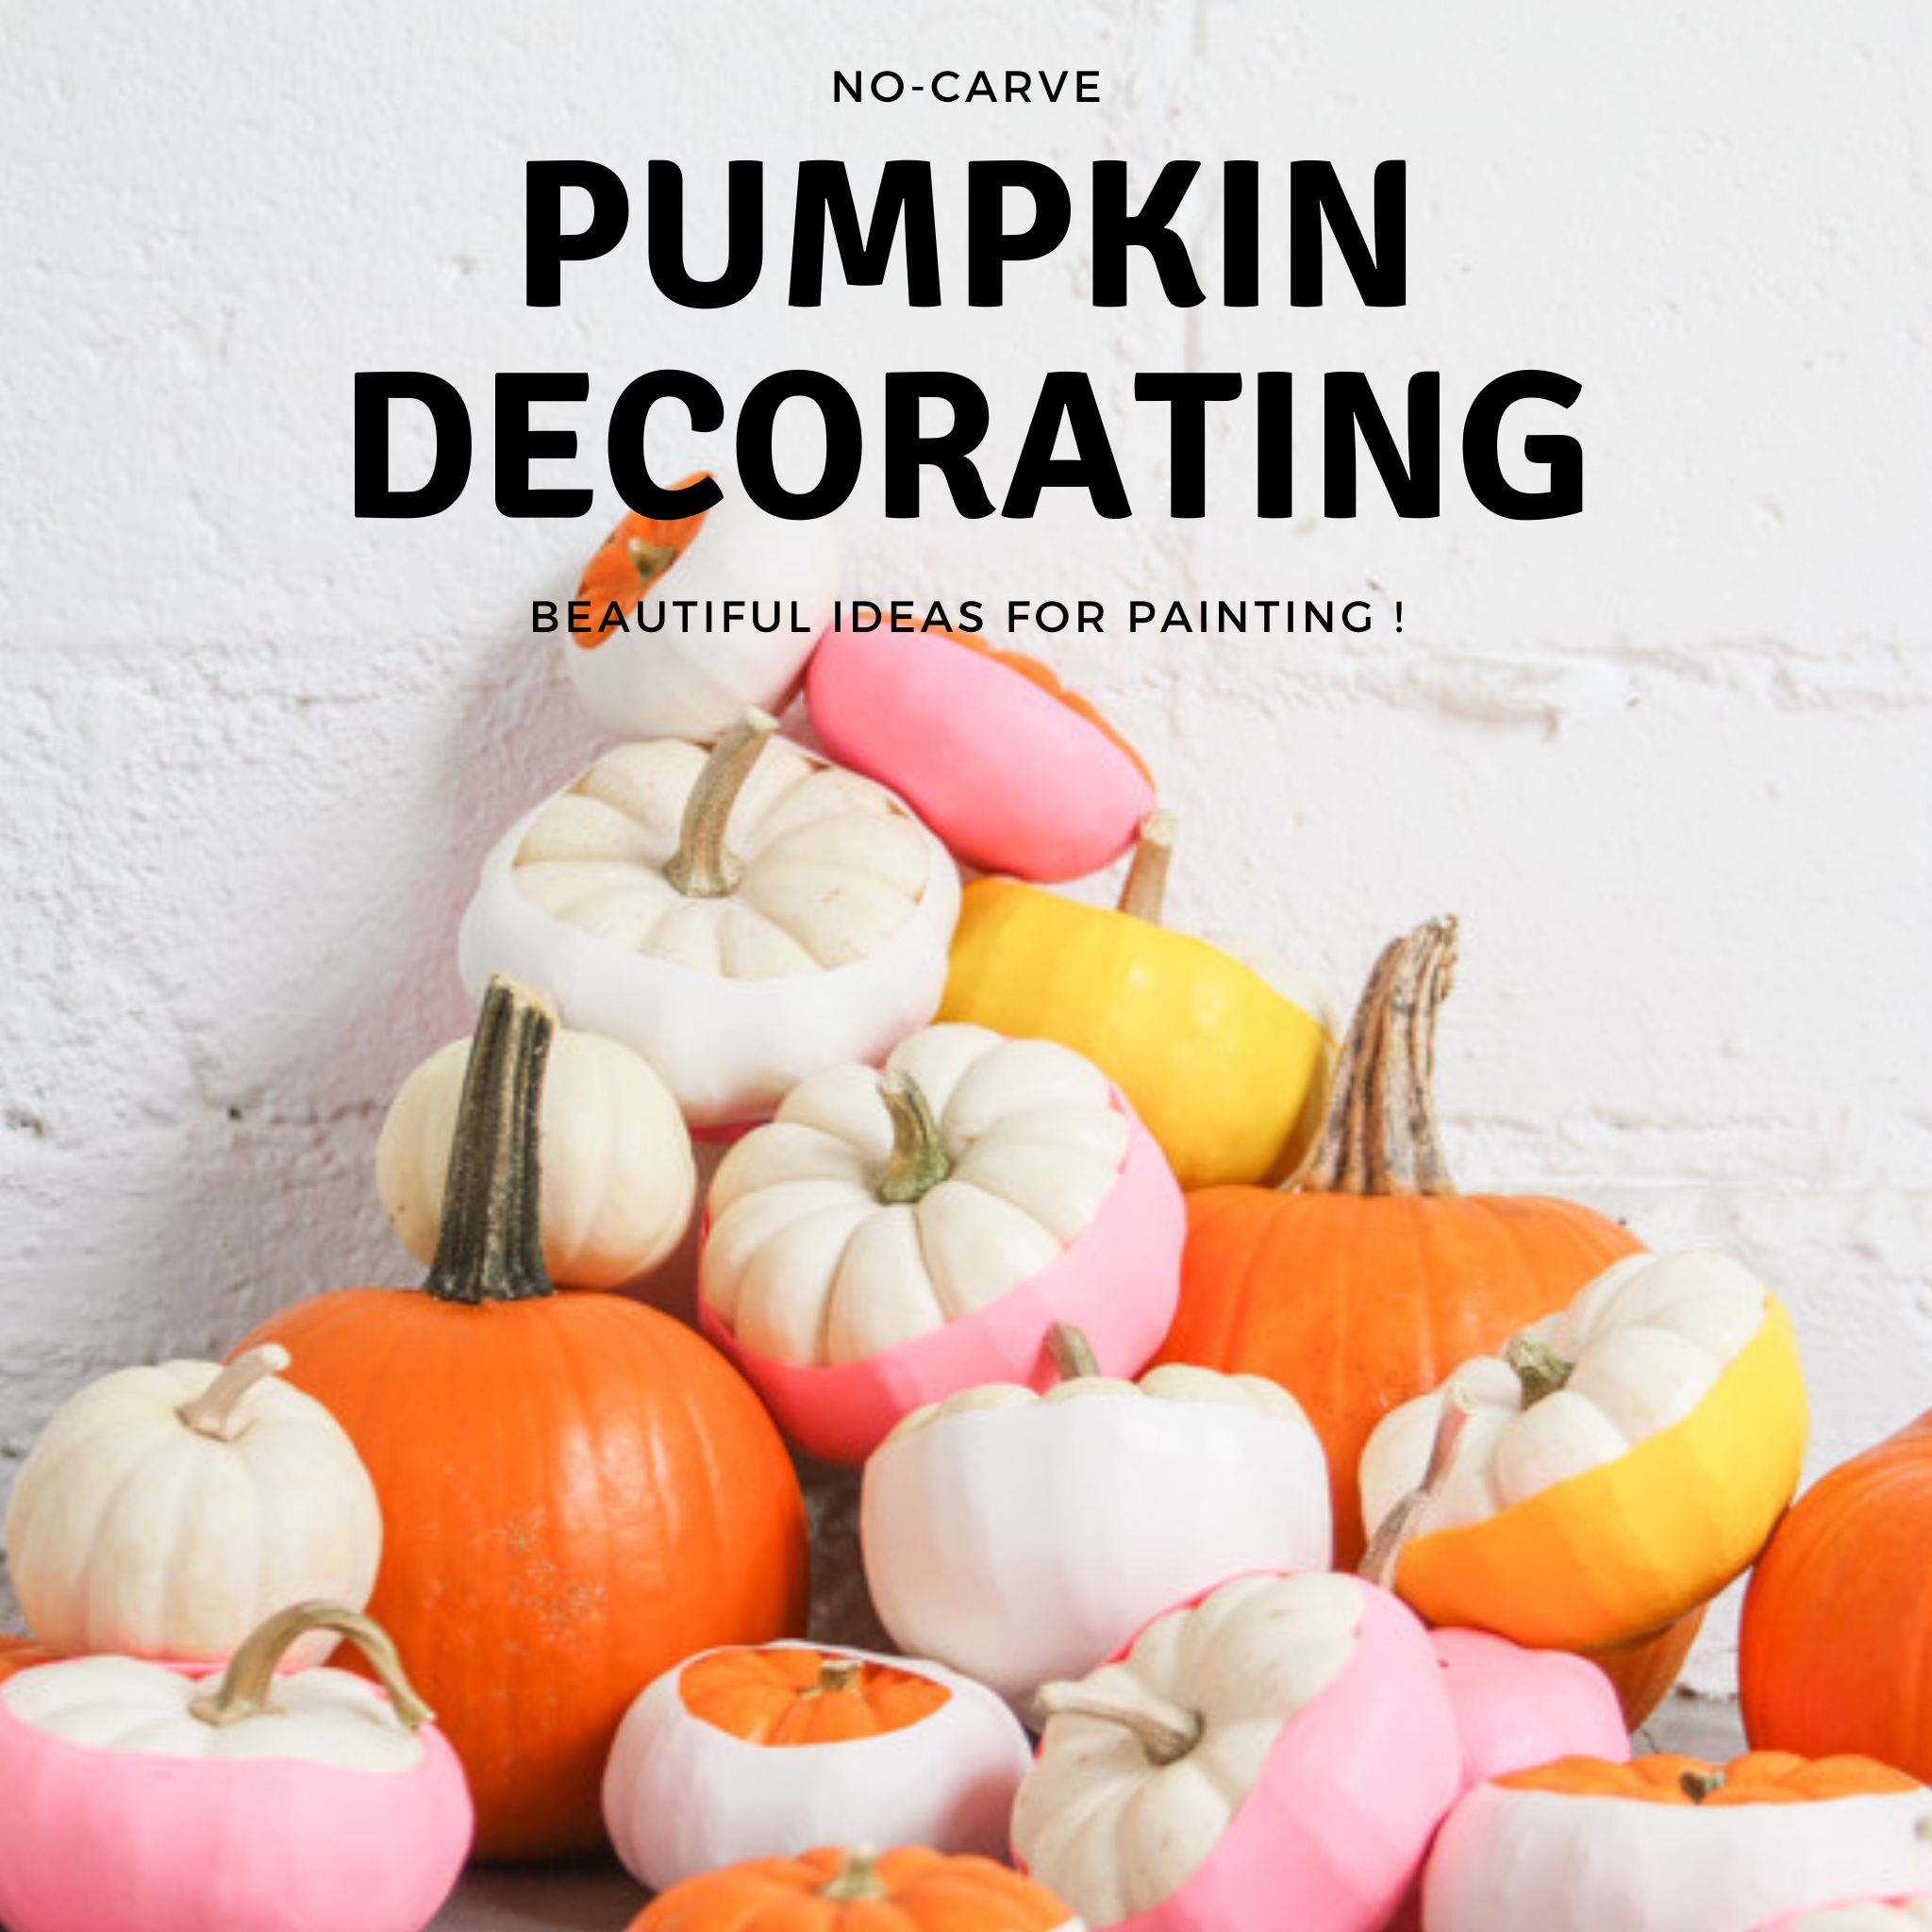
That’s it! This DIY is perfect for the lazy decorator who wants to impress with minimal effort. If you want to go a step further, paint the top of your pumpkin another color: white or gold for a clean and modern look, or pink for something for maximum pop. Who says a jackolantern can only be orange and black? Take it easy this year without losing that decorating impact with dazzling pumpkins that do the work for you.

Crayon Drip
Now maybe you’re someone who loves the challenge of decorating. You relish the opportunity to get messy and go all out. You may even be looking for a bigger challenge than the standard jack o'lantern. You want to stand out on the block and wow anyone who passes with your skills. If this sounds familiar, then the crayon drip pumpkin (shown above from ColorMadeMeHappy on Instagram) is the challenge you need.
- Remove the paper crayon covers. Depending on how many colors you want to use– whether you’re a fan of monochrome or you dare to go rainbow– the timing will vary.
- Break crayon into small bits. Get that mini rage that’s been building up all out there.
- One at a time, place crayons near the pumpkin stem. Step back into adulthood for a quick second and organize.
- Melt them down with a hair-dryer on low-heat, and fulfill that anarchist childhood dream.
- As they begin to melt, move the pumpkin around to control drips. Kinda like ceramics, spin the pumpkin as if it were a pot.
- Repeat around the whole pumpkin and let dry completely. Pat yourself on the back because that was way more steps to it than the Balloon Pumpkin idea.
Surprise the neighbors with an explosion of color on your doorstep.

Splatter Paint Pumpkin
If you want that same bold use of color but with a more muted palette– and with less burning involved– we suggest going with the splatter paint method from Good Housekeeping:
- To really make your splatter pop, first paint the base a solid color. Pink, green, anything you like.
- Mix some acrylic paint in water, and stir until it’s thick like “heavy cream.”
- And with a toothbrush or any kind of light brush, dunk it in the paint and gently tap your brush against the pumpkin until you’ve achieved your sparking coat of color. Here’s the perfect decorating tip that’s easy while still delivering that striking appeal.

Old School Painted Pumpkins
Finally, here’s a way to decorate outside of the box by painting within the lines. For those of you who aren’t interested in all the spattering brush tricks and would rather treat the pumpkin as a genuine canvas, our founding designer Michelle Van Der Water is right there with you. She teamed up with Caia of Spiral Eyez Designs (below) for a serious pumpkin painting session
- All you need is some acrylic or house paint and some brushes.
- A little imagination.
- And paint! Get to work on your Halloween masterpiece.

It’s that simple! And not to play favorites, but this decorating hack was definitely our favorite. Michelle took this DIY decor tip and ran with it. She painted her pumpkins with a fun fall theme exuding that much needed Halloween spunk– all with materials from the 99cent Store! Check out her tutorial, with artist Caia Diepenbrock and don't forget to SUBSCRIBE for more craft videos.

Written by Kathryn Blessington (KTB)